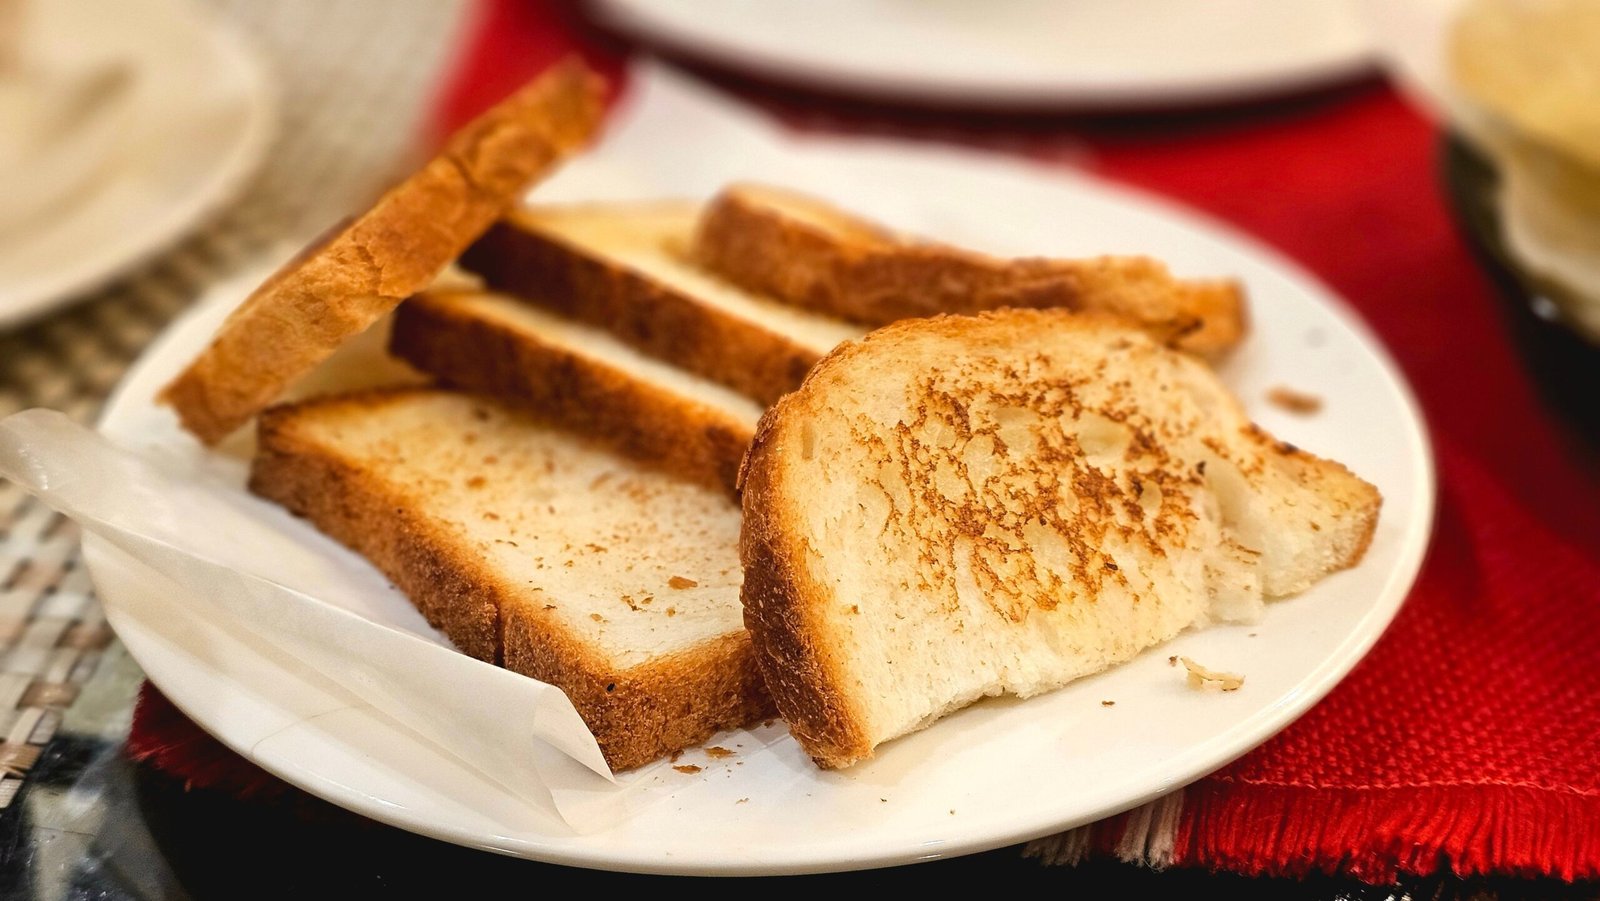
How Long To Cook Frozen Texas Toast In Air Fryer: Best Way
Are you trying to figure out how long to cook frozen texas toast in air fryer units? I was in your shoes a few months ago, hungry and tired of soggy microwave bread. After burning my first batch and undercooking the next, I finally nailed down the perfect process.
Many online recipes give you a single time and temperature that simply do not work for every kitchen machine. This guide will show you what actually works based on real testing in my own kitchen. You will learn how to get that perfect golden crunch every single time.
What to Know Before You Start
Before you throw those frozen slices into your machine, you need to understand a few basics about how heat works in these devices. Different brands run hotter or circulate air faster than others, which changes your cooking time.
| Factor | Why It Matters | What to Look For |
|---|---|---|
| Air Fryer Wattage | Higher wattage cooks bread much faster and can burn the edges. | Standard units range from 1400W to 1800W; check your manual first. |
| Toast Thickness | Thicker slices need more time to heat through to the center. | Look for uniform slices that are about one inch thick. |
| Basket Capacity | Crowding the basket traps steam and makes your toast soggy. | Choose a size that lets you lay slices flat without overlapping. |
| Preheating | Preheating creates an instant crust and stops the bread from drying out. | Run your machine for three minutes before adding the food. |
| Garlic Butter Coating | Heavy butter coatings melt fast and can cause smoke or burning. | Look for an even, pale yellow layer on the frozen bread. |
Many brands try to sell you special toast racks or custom accessories for your air fryer basket. I bought one of those metal wire racks, and it was a complete waste of counter space. You do not need any extra gear to get a great result; a basic basket works best.
Getting Started the Right Way
Rushing into cooking without preparing your workspace always leads to burnt garlic and dry bread. The first time I tried this, I just threw the frozen toast into a cold basket and guessed the time. I ended up with a rock-hard piece of toast that was still cold in the middle.
To do this right, make sure your air fryer basket is completely clean of old oil or crumbs from your last meal. Plug in your machine on a flat, heat-safe surface with plenty of space behind the air vents. Grab a pair of silicone-tipped tongs so you do not scratch the nonstick coating.
Step-by-Step: How Long to Cook Frozen Texas Toast in Air Fryer
Here is the exact method I use now after months of making mistakes and trying different times. Follow these steps closely to get a soft, warm center and a crisp, buttery crust.
Step 1: Preheating the Air Fryer
Turn on your air fryer and set the temperature to 350 degrees Fahrenheit. Let the machine run empty for three to four minutes to get the air hot. Skipping this step is the main reason toast turns out hard like a rock instead of light and crisp.
Step 2: Arranging the Slices
Place your frozen toast slices in a single layer at the bottom of the basket. Make sure there is at least a small gap between each slice so the hot air can flow freely. Do not stack them or let the edges overlap, or those spots will stay soft and doughy.
Step 3: Setting the Initial Timer
Set your kitchen timer for a total of five minutes to start your cooking process. For most standard machines, five to six minutes is the sweet spot for a perfect bake. Keep a close eye on the basket during the last minute if your machine is highly powerful.
Step 4: Flipping the Toast
Open the basket at the three-minute mark to check on the progress of your bread. Use your silicone tongs to carefully flip each slice over so both sides brown evenly. This ensures the melted garlic butter spreads nicely across the entire surface of the bread.
Step 5: Checking for Doneness
Pull the basket out at the five-minute mark and gently tap the top of the bread with your tongs. It should sound slightly hollow and feel firm to the touch with a light golden color. If it still looks pale or feels soft, slide it back in for one more minute.
Step 6: Resting and Serving
Remove the hot toast from the basket immediately and let it sit on a plate for one minute. The residual heat will finish setting the crumb while the crust crisps up in the cool air. Enjoy your perfect Texas toast while it is still warm and fragrant.
Common Mistakes to Avoid
Cooking frozen bread seems simple, but a few small errors can ruin your quick side dish. Here are the mistakes I made during my first week of testing and how you can avoid them.
| Mistake | Why It Happens | How To Fix It |
|---|---|---|
| Overlapping Slices | Wanting to cook the whole box at once to save time. | Cook in batches if your basket is too small to lay them flat. |
| Using Too High Temp | Setting the heat to 400 degrees thinking it will cook faster. | Keep the heat at 350 degrees to cook the inside without burning. |
| Forgetting to Flip | Assuming the air circulates well enough to cook both sides. | Flip the slices halfway through the cooking time every single time. |
| Not Preheating | Putting cold bread into a cold machine slows down the crisping. | Always run the machine empty for three minutes first. |
| Leaving Toast in Basket | Leaving the cooked bread in the warm basket after it shuts off. | Remove the toast immediately so the trapped steam does not make it soggy. |
The absolute biggest mistake people make is turning the temperature up to 400 degrees. High heat burns the garlic butter on the outside before the middle of the bread can even thaw. Keeping the heat moderate is the secret to a soft interior and a golden crust.
Signs You’re Doing It Right
You will know your technique is perfect when the toast has a uniform golden-brown color across the entire top surface. When you bite into it, you should hear a distinct crunch, followed by a soft, fluffy center. The garlic butter should be fully melted and bubbly without any dark, blackened spots.
If your toast feels hard like a dry cracker, your heat was likely too low for too long. If it is dark brown on the edges but cold in the center, your air fryer runs hot and needs a lower temperature. Adjusting your time by just sixty seconds can make a massive difference in your final results.
How Often You’ll Use or Need to Maintain This
Making this quick side dish is a weekly habit for many families who love pasta nights. Keeping your machine clean is the only way to ensure your bread always tastes fresh and delicious.
| Factor | Frequency | Notes |
|---|---|---|
| Cleaning the Basket | After every single use | Wipe away melted butter and crumbs to prevent smoke next time. |
| Checking Air Vents | Once a month | Clear away dust to keep the air flowing at the right speed. |
| Deep Scrubbing | Every ten uses | Wash with warm soapy water to remove stubborn grease buildup. |
| Replacing Basket | Every two to three years | Replace if the nonstick coating starts peeling or scratching off. |
In my weekly routine, I wash the basket right after it cools down from making dinner. Letting garlic butter sit in the basket overnight makes it very hard to clean later. A quick wipe with a soft sponge keeps the nonstick coating in perfect shape for years.
Options Worth Considering: How Long to Cook Frozen Texas Toast in Air Fryer
You do not need a fancy appliance to get great results with this simple recipe. Here are the types of machines I have used and how they compare when making toast.
A basket-style unit is one of the better options I have tried for quick snacks. These machines heat up incredibly fast and circulate air in a tight space, which makes the bread very crispy. You can find a great mid-range option like this [Product Link] that fits on any kitchen counter.
If you have a large family, an air fryer toaster oven style might be a better fit for your kitchen essentials. These units have wider racks that let you cook a whole box of garlic bread at once. However, they take longer to preheat and may require an extra minute of cooking time.
When to Return It, Replace It, or Call It Quits
Sometimes your appliance or your accessories simply do not work the way they should. Here is how to know when a kitchen tool is no longer safe or useful for your cooking.
If your air fryer starts making a loud rattling noise or smells like burning plastic, turn it off immediately. These are signs of a failing fan motor or electrical issue that cannot be fixed at home. It is much safer to return a new unit or replace an old one than to risk a kitchen fire.
You should also throw away your basket if the nonstick coating is peeling off into your food. Those black flakes can stick to your buttery toast and ruin your meal. Always use wood or silicone tools to protect the surface and extend the life of your kitchen essentials.
Building It Into Your Kitchen Routine
Making garlic bread can easily become a seamless part of your weekly dinner prep. I like to preheat my machine right as I start boiling water for my favorite pasta dishes. By the time the pasta is draining, the toast is ready to go into the basket for its quick cook.
This routine works great because it keeps the bread hot and fresh right when you are ready to serve dinner. If you mess up a batch and burn it, do not worry or start over from scratch. Just wipe out the basket, lower the heat by twenty degrees, and try again with fresh slices.
Real Kitchen Experience — What It’s Actually Like
Using an air fryer for frozen bread sounded like a gimmick to me when I first heard about it. I was used to the oven, which took twenty minutes just to warm up for two slices of bread. Once I tried the air method, I realized I could never go back to the old way.
One surprise I noticed is how much better the texture is compared to a standard oven. The circulating air crisps the butter coating instantly, trapping the moisture inside the bread so it stays incredibly soft. It takes under ten minutes from start to finish, which is a lifesaver on busy weeknights.
Cost Breakdown — What This Actually Runs You
Budgeting for your kitchen accessories does not have to be complicated or expensive. Here is a realistic look at the costs of making this tasty side dish at home.
| Item | One-Time or Ongoing | Estimated Cost Range |
|---|---|---|
| Basic Basket Air Fryer | One-Time | $50.00 – $90.00 |
| Silicone Tongs | One-Time | $8.00 – $15.00 |
| Box of Frozen Texas Toast | Ongoing | $3.00 – $5.00 per box |
| Cleaning Sponges | Ongoing | $5.00 – $10.00 per year |
| Premium Air Fryer Oven | One-Time | $120.00 – $200.00 |
A budget-friendly basket machine is genuinely good enough for making perfect garlic bread. You do not need to spend hundreds of dollars on a premium oven unless you cook for a very large family. Focus on getting a reliable machine with good reviews and a simple timer like [Product Link] online.
Quick Reference Summary
Here is a fast recap of the most important points to remember for your next cooking session. Keep these tips in mind to get the best results every time you cook.
| Topic | Key Point | Watch Out For |
|---|---|---|
| Before You Buy | Check your machine wattage to adjust cook times. | High-wattage units burn bread fast. |
| First Use | Clean the basket and preheat for three minutes. | Cold baskets cause uneven cooking. |
| Frequency | Wipe the basket clean after every single use. | Leftover butter will smoke next time. |
| Best Options | Basket-style units cook fastest and crispiest. | Avoid cheap wire racks that crowd food. |
| Warning Signs | Hard toast means the temperature was too low. | Black burnt edges mean heat is too high. |
| When to Replace | Replace basket if nonstick coating starts peeling. | Do not use scratched baskets for food. |
Final Tips — How Long to Cook Frozen Texas Toast in Air Fryer
The single most important thing to get right is keeping your temperature at 350 degrees Fahrenheit. It is tempting to blast the heat to finish faster, but patience yields a much better texture. Taking those extra few minutes to preheat and flip the bread will make your meals taste amazing.
People who get the most value out of their kitchen tools are those who take care of them daily. Keep your basket clean, use the right tools, and do not be afraid to adjust times for your specific machine. With a little practice, you will have perfect, buttery garlic bread ready in minutes.